UI编辑器自动分图层切图标 #239

Open
opened 2026-09-01 19:13:17 +08:00 by k88936 · 6 comments
Member

final
规则设计

在切分父节点的时候, 子节点用纯色填充.
艺术字, 图标背景, 作为图片
任何文字都要作为可编辑的文本从图片中去除.

拼好切: 彼此互不重叠的叶子节点在一次图片编辑中提取, 因为有大小和位置的变化, 需要视觉模型一次绑定.

错误恢复: 因为切图操作昂贵,上游负载等问题可能导致很长时间不可用, 需要把切图过程需要可以崩溃后继续.

转人工: 视觉模型验收+重做的步骤可以有限几次, 之后提供手动抠图?/手动绑定

final 规则设计 在切分父节点的时候, 子节点用纯色填充. 艺术字, 图标背景, 作为图片 任何文字都要作为可编辑的文本从图片中去除. 拼好切: 彼此互不重叠的叶子节点在一次图片编辑中提取, 因为有大小和位置的变化, 需要视觉模型一次绑定. 错误恢复: 因为切图操作昂贵,上游负载等问题可能导致很长时间不可用, 需要把切图过程需要可以崩溃后继续. 转人工: 视觉模型验收+重做的步骤可以有限几次, 之后提供手动抠图?/手动绑定 - [x] #300 - [ ] #304
k88936 self-assigned this 2026-09-01 19:13:25 +08:00
k88936 added this to the 陶泥儿gameAgent project 2026-09-01 19:13:30 +08:00
Author
Member

是的,Qwen-Image-Layered 确实存在,是由阿里云通义千问(Qwen)团队开源的图像分层模型。
核心功能
图像分解:它是一个端到端的扩散模型,能将单张 RGB 图像自动分解为多个语义解耦的 RGBA 图层 。
原生可编辑性:这种分层表示实现了“指哪改哪”的精准编辑。例如,你可以单独修改某个图层的颜色或位置,而不会影响其他部分 。
结构化表示:它弥合了栅格图像与结构化、可编辑表示(类似 Photoshop 图层)之间的差距 。
支持的云服务商与 API
目前已有多个云平台提供该模型的托管服务:
Fal.ai:提供专门的 qwen-image-layered API 端点,支持商业使用,适合开发者集成 。
Layer.ai:在其模型市场中列出了 Qwen-Image Layered,用于高级合成控制 。
ImageLayered.com:基于开源 Qwen 模型构建的专用工具,提供快速的在线分层服务 。
Hugging Face:模型完全开源,可通过其平台进行推理或自行部署 。
技术资源
代码仓库:GitHub 上的 QwenLM/Qwen-Image-Layered 。
工作流支持:已集成到 ComfyUI 等工具中,方便本地或服务器端部署 。
学术论文:相关技术细节发表在 arXiv 论文《Towards Inherent Editability via Layer Decomposition》中 。
如果你需要直接通过代码调用,Fal.ai 是目前比较成熟且文档完善的 API 提供商 。
dont limit to it , any othe rmodel ??

2/2
除了 Qwen-Image-Layered,图像分层(Layer Decomposition/Separation)领域还有其他几类模型和方案。我们可以从通用开源模型、专用商业 API 和传统 CV 方案三个维度来看:

  1. 其他开源/研究级模型
    LayerDiffuse:这是该领域的先驱之一,专门用于将单张图像分解为多个透明图层。它不依赖特定的语义标签,而是通过扩散模型学习图层的物理属性(如透明度、光照)web_search
    SAM (Segment Anything Model) + Inpainting:虽然不是直接的分层模型,但 Meta 的 SAM 可以精准识别物体掩码(Mask),结合 Stable Diffusion 的 Inpainting 功能,可以手动构建分层效果。这是目前很多工作流(如 ComfyUI)的主流做法。
    IS-Net / MODNet:这些是更早期的模型,主要用于人像或特定主体的抠图(Matting),虽然只能分前景/背景两层,但在视频处理和直播场景中非常成熟。
  2. 提供分层能力的云服务商/API
    Clipdrop (by Stability AI):提供 "Cleanup" 和 "Remove Background" 功能,其底层技术涉及对图像元素的语义理解,可以视为一种简化的分层处理。
    Adobe Firefly API:Adobe 的生成式填充(Generative Fill)本质上是在处理图层关系。虽然它不直接输出 PSD,但其 API 允许对图像的特定部分进行结构化编辑。
    Runway ML:在视频处理中提供强大的“绿幕”和对象移除工具,其底层也是基于分层思维的运动追踪和分割模型。
    Leonardo.ai:提供“Canvas”功能,支持对生成图像的局部重绘和分层编辑,适合创意工作流。
  3. 传统计算机视觉方案(非 AI 生成式)
    OpenCV + GrabCut:适用于背景对比度高的简单场景,通过算法迭代提取前景。
    U^2-Net:一个轻量级的显著性检测网络,常用于快速提取图像中的主要物体作为独立图层。
> 是的,Qwen-Image-Layered 确实存在,是由阿里云通义千问(Qwen)团队开源的图像分层模型。 > 核心功能 > 图像分解:它是一个端到端的扩散模型,能将单张 RGB 图像自动分解为多个语义解耦的 RGBA 图层 。 > 原生可编辑性:这种分层表示实现了“指哪改哪”的精准编辑。例如,你可以单独修改某个图层的颜色或位置,而不会影响其他部分 。 > 结构化表示:它弥合了栅格图像与结构化、可编辑表示(类似 Photoshop 图层)之间的差距 。 > 支持的云服务商与 API > 目前已有多个云平台提供该模型的托管服务: > Fal.ai:提供专门的 qwen-image-layered API 端点,支持商业使用,适合开发者集成 。 > Layer.ai:在其模型市场中列出了 Qwen-Image Layered,用于高级合成控制 。 > ImageLayered.com:基于开源 Qwen 模型构建的专用工具,提供快速的在线分层服务 。 > Hugging Face:模型完全开源,可通过其平台进行推理或自行部署 。 > 技术资源 > 代码仓库:GitHub 上的 QwenLM/Qwen-Image-Layered 。 > 工作流支持:已集成到 ComfyUI 等工具中,方便本地或服务器端部署 。 > 学术论文:相关技术细节发表在 arXiv 论文《Towards Inherent Editability via Layer Decomposition》中 。 > 如果你需要直接通过代码调用,Fal.ai 是目前比较成熟且文档完善的 API 提供商 。 > dont limit to it , any othe rmodel ?? > > 2/2 > 除了 Qwen-Image-Layered,图像分层(Layer Decomposition/Separation)领域还有其他几类模型和方案。我们可以从通用开源模型、专用商业 API 和传统 CV 方案三个维度来看: > 1. 其他开源/研究级模型 > LayerDiffuse:这是该领域的先驱之一,专门用于将单张图像分解为多个透明图层。它不依赖特定的语义标签,而是通过扩散模型学习图层的物理属性(如透明度、光照)[[web_search]]。 > SAM (Segment Anything Model) + Inpainting:虽然不是直接的分层模型,但 Meta 的 SAM 可以精准识别物体掩码(Mask),结合 Stable Diffusion 的 Inpainting 功能,可以手动构建分层效果。这是目前很多工作流(如 ComfyUI)的主流做法。 > IS-Net / MODNet:这些是更早期的模型,主要用于人像或特定主体的抠图(Matting),虽然只能分前景/背景两层,但在视频处理和直播场景中非常成熟。 > 2. 提供分层能力的云服务商/API > Clipdrop (by Stability AI):提供 "Cleanup" 和 "Remove Background" 功能,其底层技术涉及对图像元素的语义理解,可以视为一种简化的分层处理。 > Adobe Firefly API:Adobe 的生成式填充(Generative Fill)本质上是在处理图层关系。虽然它不直接输出 PSD,但其 API 允许对图像的特定部分进行结构化编辑。 > Runway ML:在视频处理中提供强大的“绿幕”和对象移除工具,其底层也是基于分层思维的运动追踪和分割模型。 > Leonardo.ai:提供“Canvas”功能,支持对生成图像的局部重绘和分层编辑,适合创意工作流。 > 3. 传统计算机视觉方案(非 AI 生成式) > OpenCV + GrabCut:适用于背景对比度高的简单场景,通过算法迭代提取前景。 > U^2-Net:一个轻量级的显著性检测网络,常用于快速提取图像中的主要物体作为独立图层。 >
Author
Member

lovart:
shotmd-1788423880.jpg

qwen-image-layered:
shotmd-1788423832.jpg
shotmd-1788423827.jpg

观察: lovart的效果要远好于qwen

lovart: ![shotmd-1788423880.jpg](/attachments/7cc905f9-ec46-4310-a340-917ac456798a) qwen-image-layered: ![shotmd-1788423832.jpg](/attachments/22b6fcde-ff38-4a05-bf60-19833d9f87c8) ![shotmd-1788423827.jpg](/attachments/ac3822fd-9f00-473c-a786-39b6d6f7db22) 观察: lovart的效果要远好于qwen
k88936 reopened this issue 2026-09-03 16:27:33 +08:00
Author
Member

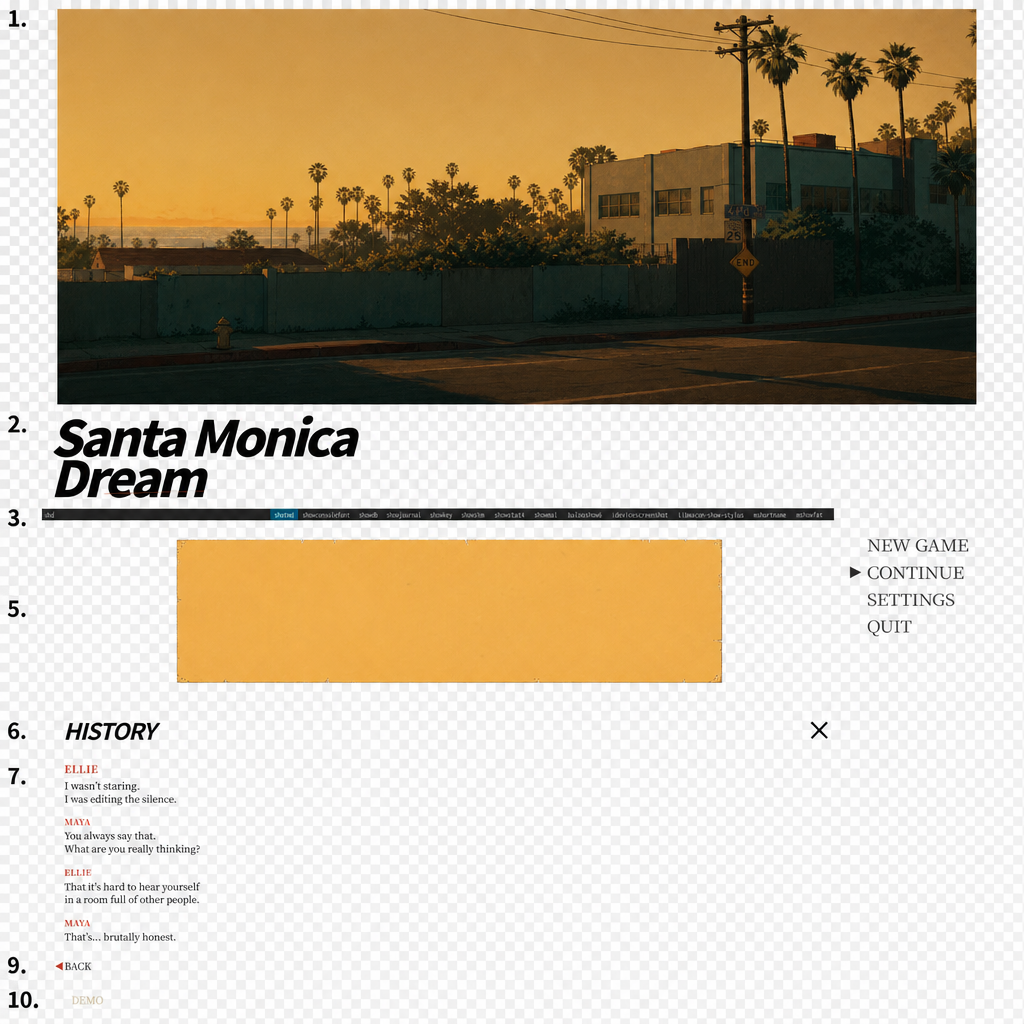
观察: lovart告诉我它工具调用的参数原始prompt有对每个拆分部分的描述, 得到的结果也一一对应
原始参数:

{
  "image_url": "https://a.lovart.ai/artifacts/user/fxugiSLag5FDi4r1.png",
  "output_name": "Santa Monica Dream UI 元素图层",
  "prompt": "This is a UI design, not a normal photo/illustration. Separate it strictly as UI components/layers, not as a generic foreground/background separation. Treat every distinct UI element as its own layer with hard, clean, pixel-accurate edges and full transparency outside the element. Produce the following layers:\n1. Base background plate — the sunset Santa Monica scene only, with all UI removed. Reconstruct the background under where UI elements were.\n2. \"Santa Monica Dream\" title text layer.\n3. Top status/navigation bar layer.\n4. Right-side menu layer: NEW GAME, CONTINUE, SETTINGS, QUIT.\n5. HISTORY modal dialog background/panel layer (the orange box only, no text).\n6. HISTORY modal heading text \"HISTORY\" layer.\n7. HISTORY dialog body text layer (ELLIE / MAYA lines).\n8. HISTORY dialog X close button layer.\n9. HISTORY dialog BACK button layer.\n10. DEMO text / bottom-left label layer.\nKeep each layer at its original position on a transparent canvas. Use hard edges; preserve no glow/blur beyond the exact visible shape."
}

shotmd-1788753293.jpg

以及不知hyw的 prompt分层结构

还有16层的上限

It ran, but it didn’t actually give us 20 layers — it returned 1 base + 15 layers total. So the practical upper limit for this tool on this image appears to be around 15–16 layers; beyond that, it starts merging requested elements instead of splitting them.

观察: lovart告诉我它工具调用的参数原始prompt有对每个拆分部分的描述, 得到的结果也一一对应 原始参数: ``` { "image_url": "https://a.lovart.ai/artifacts/user/fxugiSLag5FDi4r1.png", "output_name": "Santa Monica Dream UI 元素图层", "prompt": "This is a UI design, not a normal photo/illustration. Separate it strictly as UI components/layers, not as a generic foreground/background separation. Treat every distinct UI element as its own layer with hard, clean, pixel-accurate edges and full transparency outside the element. Produce the following layers:\n1. Base background plate — the sunset Santa Monica scene only, with all UI removed. Reconstruct the background under where UI elements were.\n2. \"Santa Monica Dream\" title text layer.\n3. Top status/navigation bar layer.\n4. Right-side menu layer: NEW GAME, CONTINUE, SETTINGS, QUIT.\n5. HISTORY modal dialog background/panel layer (the orange box only, no text).\n6. HISTORY modal heading text \"HISTORY\" layer.\n7. HISTORY dialog body text layer (ELLIE / MAYA lines).\n8. HISTORY dialog X close button layer.\n9. HISTORY dialog BACK button layer.\n10. DEMO text / bottom-left label layer.\nKeep each layer at its original position on a transparent canvas. Use hard edges; preserve no glow/blur beyond the exact visible shape." } ``` ![shotmd-1788753293.jpg](/attachments/39039071-0b4f-4767-b881-ac899eb44370) 以及不知hyw的 prompt分层结构 还有16层的上限 > It ran, but it didn’t actually give us 20 layers — it returned 1 base + 15 layers total. So the practical upper limit for this tool on this image appears to be around 15–16 layers; beyond that, it starts merging requested elements instead of splitting them.
Author
Member

gpt image 2 edit:
效果好: shotmd-1788756669.jpg

结合lovart的计费, 基本确定 它是 多次gptimage2 edit产出的, 不是什么专用的分层模型
shotmd-1788756869.jpg

gpt image 2 edit: 效果好: ![shotmd-1788756669.jpg](/attachments/d28a8d4c-7895-461b-8706-3112a5f8a45d) 结合lovart的计费, 基本确定 它是 多次gptimage2 edit产出的, 不是什么专用的分层模型 ![shotmd-1788756869.jpg](/attachments/44a4fccd-c84f-4bd1-9229-f14fcb3fb016)
kdletters added the Kind/Enhancement label 2026-09-07 15:26:55 +08:00
Author
Member

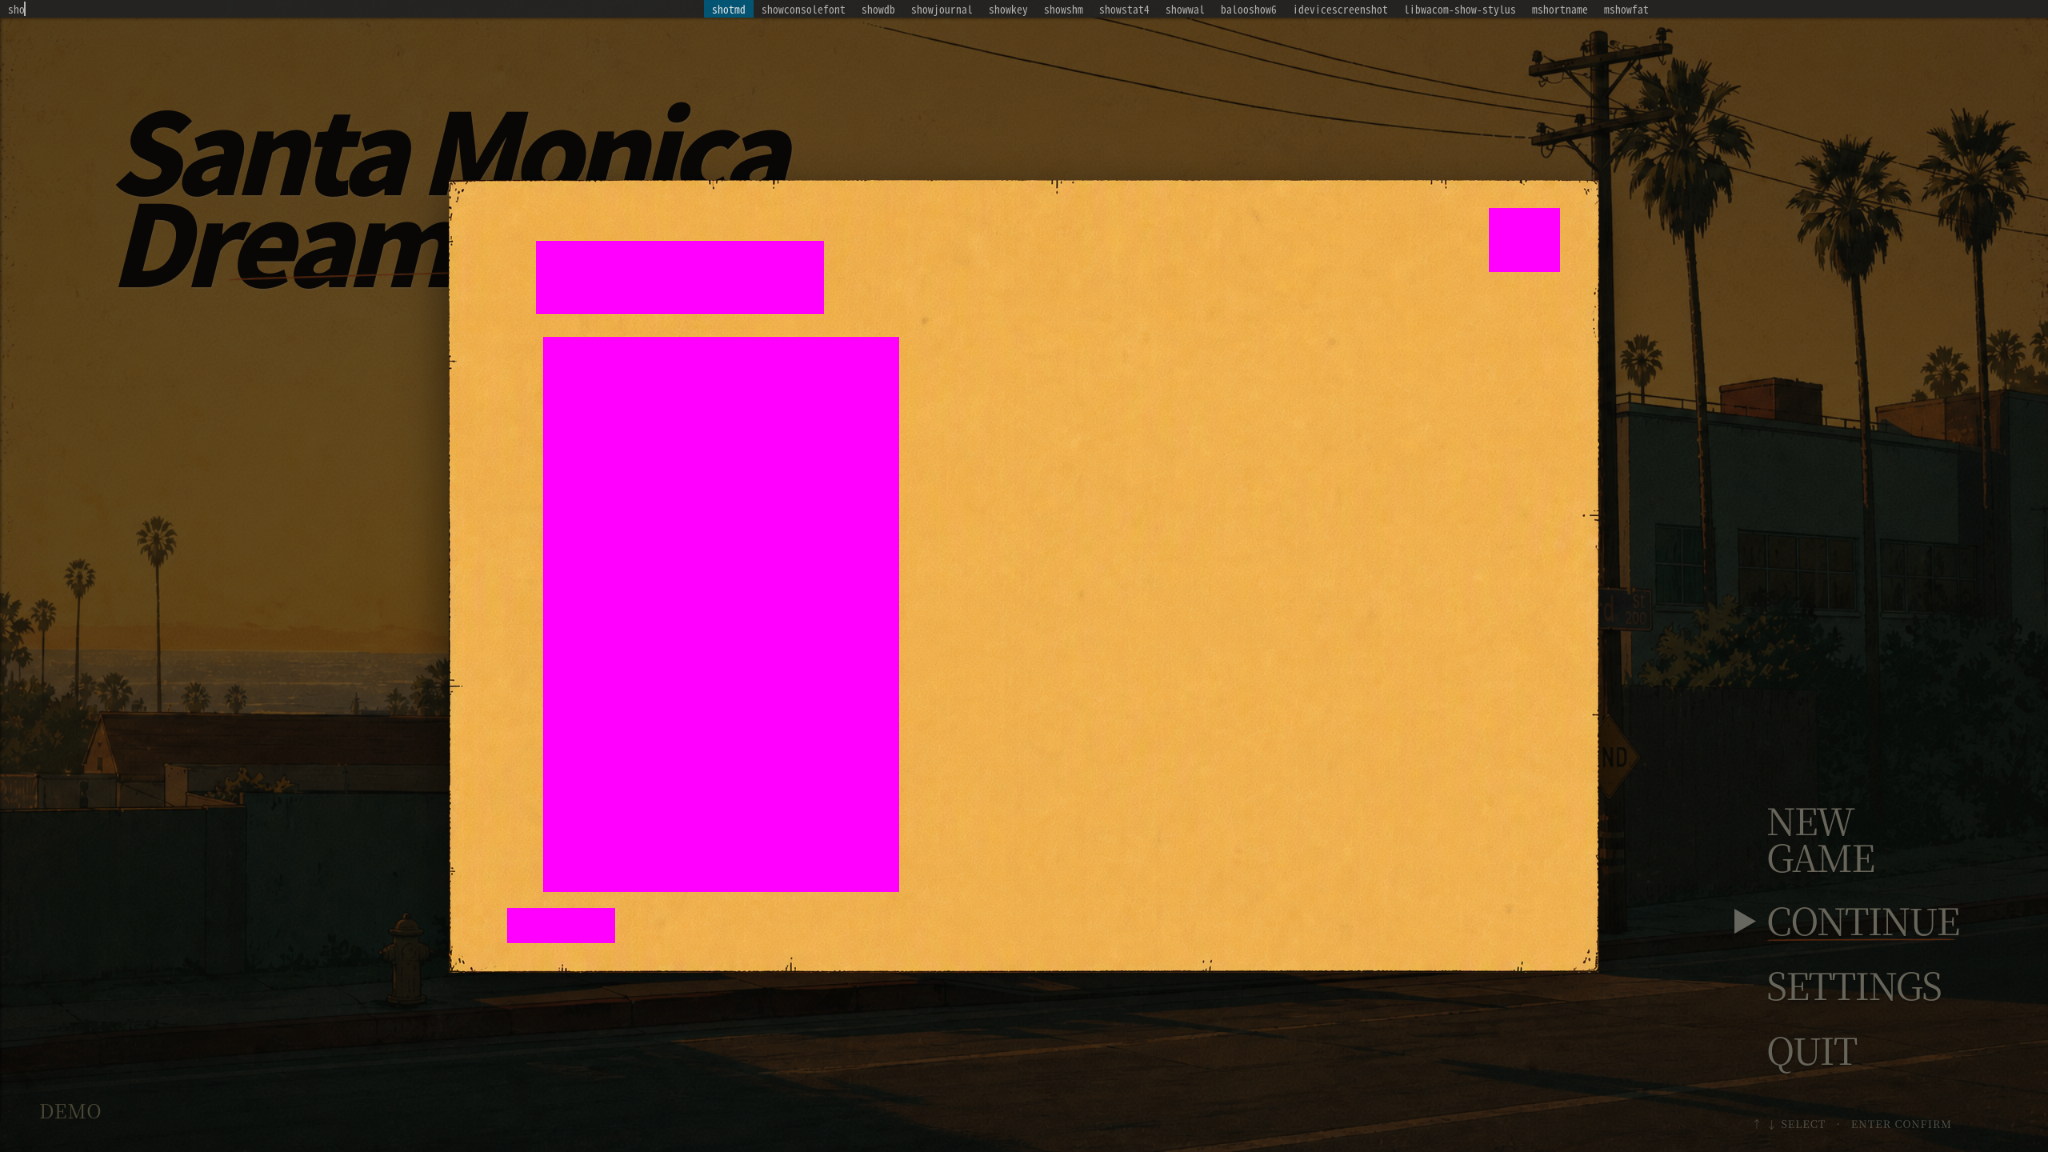
手动尝试:

container

input:
with-placeholder.png
prompt:

This is a UI design, not a normal photo/illustration. Separate it strictly as UI components/layers, not as a generic foreground/background separation. Treat every distinct UI element as its own layer with hard, clean, pixel-accurate edges and full transparency outside the element. 

EXTRACT this: HISTORY modal dialog background/panel layer ...(its childeren is masked with purple , u should fill complete the real background)

Keep each layer at its original position on a transparent canvas. Use hard edges; preserve no glow/blur beyond the exact visible shape. 

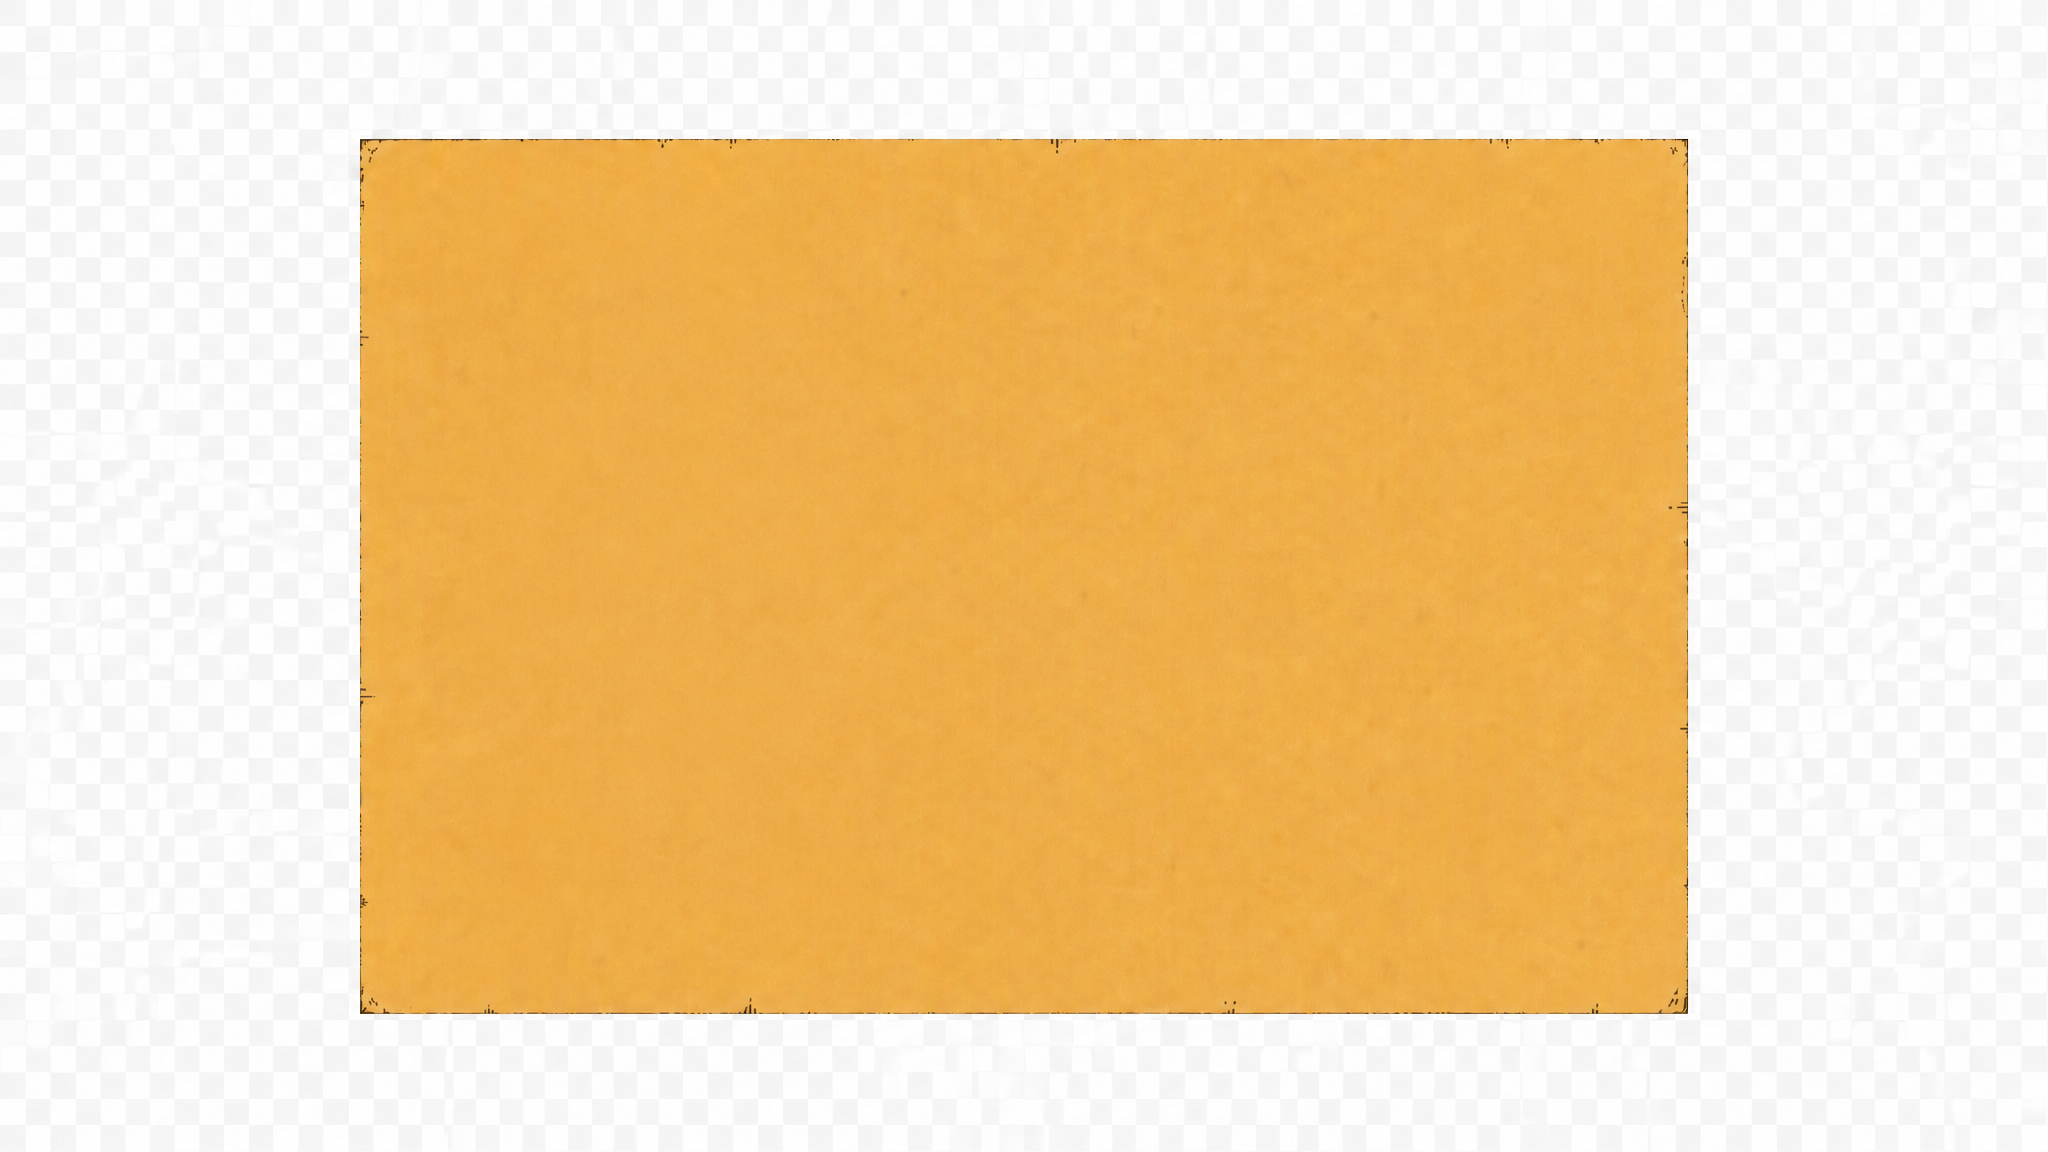
output:
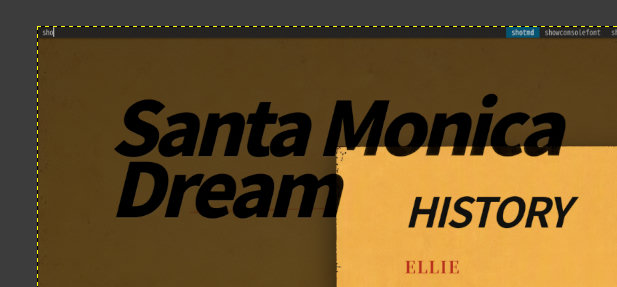
位置大小有变化
image.png

children in a batch

input:
selected.png
prompt:

This is a UI design, not a normal photo/illustration. Separate it strictly as UI components/layers, not as a generic foreground/background separation. Treat every distinct UI element as its own layer with hard, clean, pixel-accurate edges and full transparency outside the element. 

EXTRACT these UI elements in a batch: History Auto Setting buttons (they are marked within the purple frame box, remove both outside and inner background )

Keep each layer at its original position on a transparent canvas. Use hard edges; preserve no glow/blur beyond the exact visible shape. 

output:
位置大小有变化
image.png

children in a batch 使用mask:

masked2.png
image.png
比较:
shotmd-1788773377.png
仍然无法精确保持位置
所以可能需要再一次读图来匹配

children in a batch , but give background and text requirement.

This is a UI design, not a normal photo/illustration. Separate it strictly as UI components/layers, not as a generic foreground/background separation. Treat every distinct UI element as its own layer with hard, clean, pixel-accurate edges and full transparency outside the element. 

EXTRACT these UI elements in a batch: History Auto Setting buttons (they are marked within the purple frame box)
U MUST NOT PRESERVE THE INNER BACKGROUND {YELLOW} , ONLY KEEP THE {BLACK} {ICON}
U MUST NOT PRESERVCE THE "HISTORY" text , remove it 

Keep each layer at its original position on a transparent canvas. Use hard edges; preserve no glow/blur beyond the exact visible shape. 

image.png

children across branch (拼好切) in a batch , but give background and text requirement.

This is a UI design, not a normal photo/illustration. Separate it strictly as UI components/layers, not as a generic foreground/background separation. Treat every distinct UI element as its own layer with hard, clean, pixel-accurate edges and full transparency outside the element. 

EXTRACT these UI elements in a batch: History Auto Setting buttons,  the traingle Start, and woman profile. 
 (they are marked within the purple frame box)
U MUST NOT PRESERVE THE INNER BACKGROUND {YELLOW} , ONLY KEEP THE {BLACK} {ICON}
U MUST NOT PRESERVCE THE "HISTORY" text 
U MUST KEEP TEXT "AUTO" "Setting"

Keep each layer at its original position on a transparent canvas. Use hard edges; preserve no glow/blur beyond the exact visible shape. 

selected2.png
image.png

手动尝试: ## container input: ![with-placeholder.png](/attachments/9b195fc3-719d-464e-a976-22d1abdba709) prompt: ``` This is a UI design, not a normal photo/illustration. Separate it strictly as UI components/layers, not as a generic foreground/background separation. Treat every distinct UI element as its own layer with hard, clean, pixel-accurate edges and full transparency outside the element. EXTRACT this: HISTORY modal dialog background/panel layer ...(its childeren is masked with purple , u should fill complete the real background) Keep each layer at its original position on a transparent canvas. Use hard edges; preserve no glow/blur beyond the exact visible shape. ``` output: 位置大小有变化 ![image.png](/attachments/8bb80b2d-33a1-4b14-bdbc-06d6b927080f) ## children in a batch input: ![selected.png](/attachments/ae43df47-6d37-433b-8a7e-b814742207ca) prompt: ``` This is a UI design, not a normal photo/illustration. Separate it strictly as UI components/layers, not as a generic foreground/background separation. Treat every distinct UI element as its own layer with hard, clean, pixel-accurate edges and full transparency outside the element. EXTRACT these UI elements in a batch: History Auto Setting buttons (they are marked within the purple frame box, remove both outside and inner background ) Keep each layer at its original position on a transparent canvas. Use hard edges; preserve no glow/blur beyond the exact visible shape. ``` output: 位置大小有变化 ![image.png](/attachments/f2cccc1d-997e-47be-8157-86fa61dc5a00) ## children in a batch 使用mask: ![masked2.png](/attachments/5baa2381-967d-41c6-8f1b-2197a5964476) ![image.png](/attachments/c4c620ac-16d7-4ea5-bb5c-fed1ca702634) 比较: ![shotmd-1788773377.png](/attachments/d9601293-aedb-4b69-a3ce-b91e6000370b) 仍然无法精确保持位置 所以可能需要再一次读图来匹配 ## children in a batch , but give background and text requirement. ``` This is a UI design, not a normal photo/illustration. Separate it strictly as UI components/layers, not as a generic foreground/background separation. Treat every distinct UI element as its own layer with hard, clean, pixel-accurate edges and full transparency outside the element. EXTRACT these UI elements in a batch: History Auto Setting buttons (they are marked within the purple frame box) U MUST NOT PRESERVE THE INNER BACKGROUND {YELLOW} , ONLY KEEP THE {BLACK} {ICON} U MUST NOT PRESERVCE THE "HISTORY" text , remove it Keep each layer at its original position on a transparent canvas. Use hard edges; preserve no glow/blur beyond the exact visible shape. ``` ![image.png](/attachments/98220ae7-42e7-4cdb-b301-19695e71a966) ## children across branch (拼好切) in a batch , but give background and text requirement. ``` This is a UI design, not a normal photo/illustration. Separate it strictly as UI components/layers, not as a generic foreground/background separation. Treat every distinct UI element as its own layer with hard, clean, pixel-accurate edges and full transparency outside the element. EXTRACT these UI elements in a batch: History Auto Setting buttons, the traingle Start, and woman profile. (they are marked within the purple frame box) U MUST NOT PRESERVE THE INNER BACKGROUND {YELLOW} , ONLY KEEP THE {BLACK} {ICON} U MUST NOT PRESERVCE THE "HISTORY" text U MUST KEEP TEXT "AUTO" "Setting" Keep each layer at its original position on a transparent canvas. Use hard edges; preserve no glow/blur beyond the exact visible shape. ``` ![selected2.png](/attachments/94fd9bc8-3987-4c05-afff-712ede8b23e5) ![image.png](/attachments/42127a78-b302-44bf-9d1b-dbccbb6181b4)
Author
Member

效果不稳定, 感觉不如直接全描述切图
download (3).png
image.png

效果不稳定, 感觉不如直接全描述切图 ![download (3).png](/attachments/3ebb6323-d682-4106-82a1-6731539bac13) ![image.png](/attachments/c34721ad-e168-4d91-be0b-7fd6a164166b)
Sign in to join this conversation.
1 Participants
Notifications
Due Date
No due date set.
Dependencies

No dependencies set.

Reference: GenarrativeAI/Genarrative#239